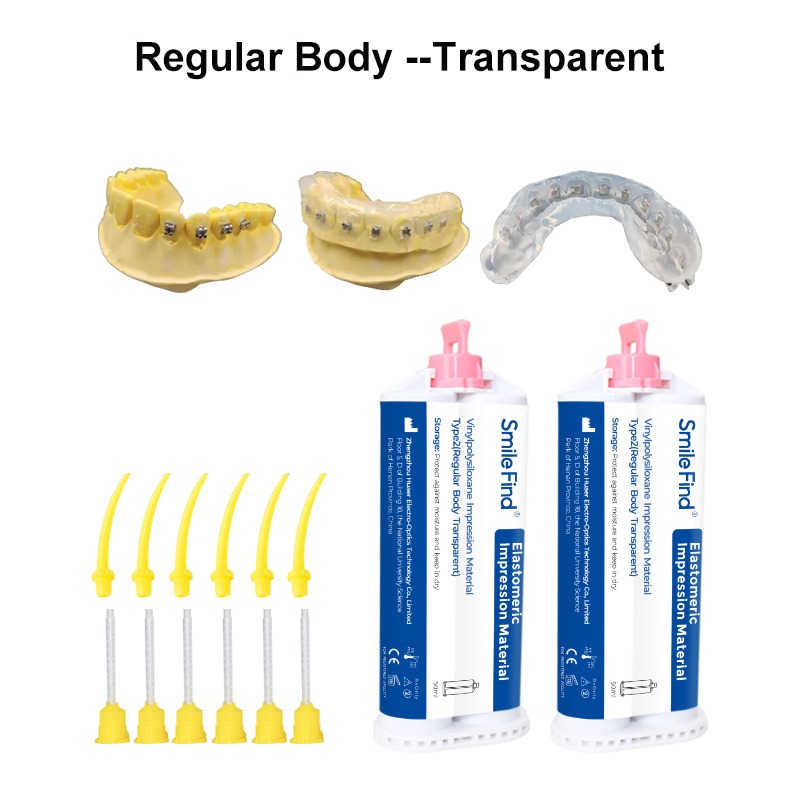
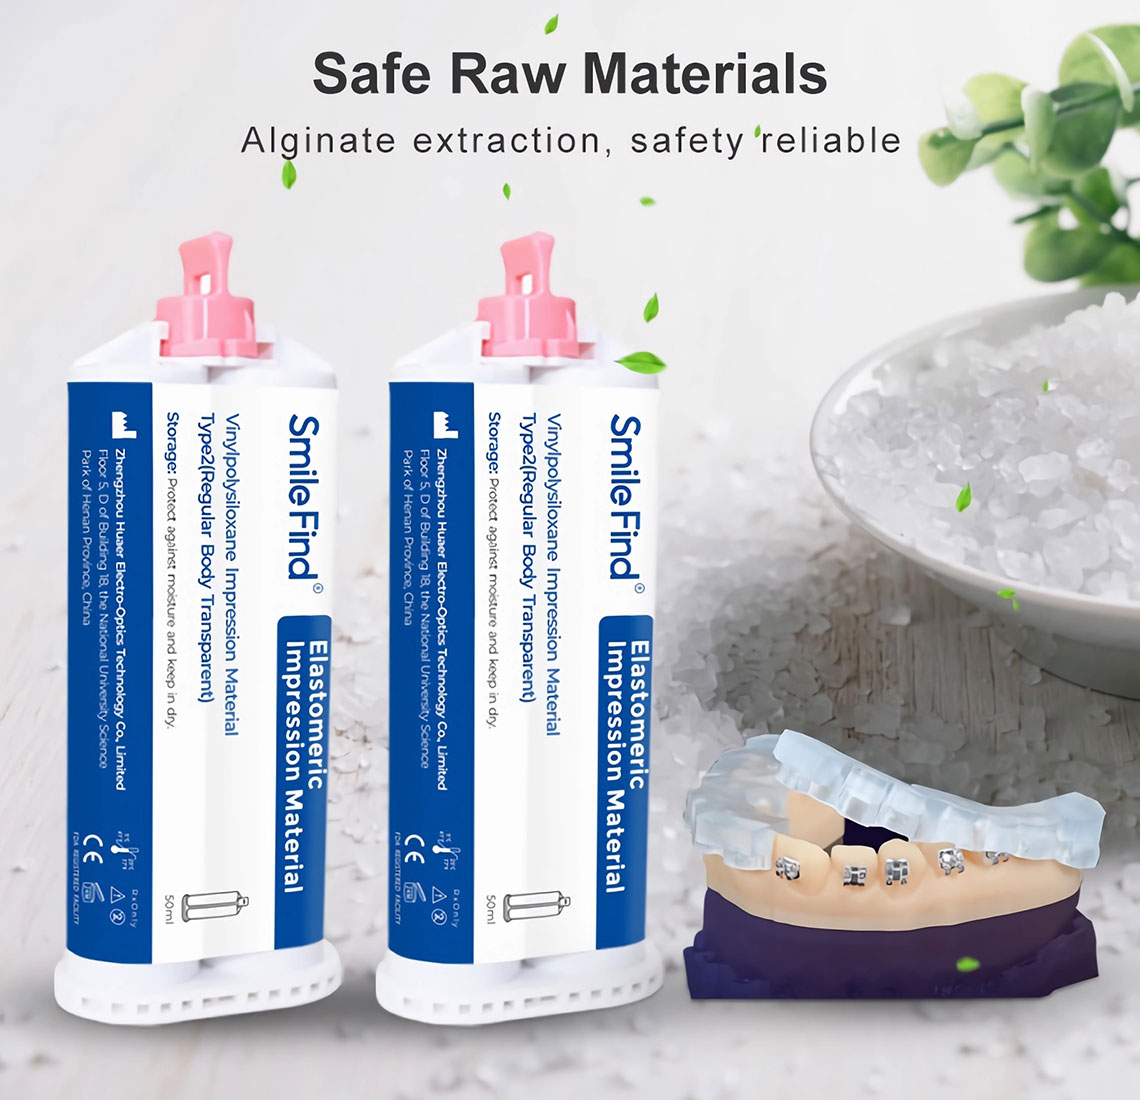
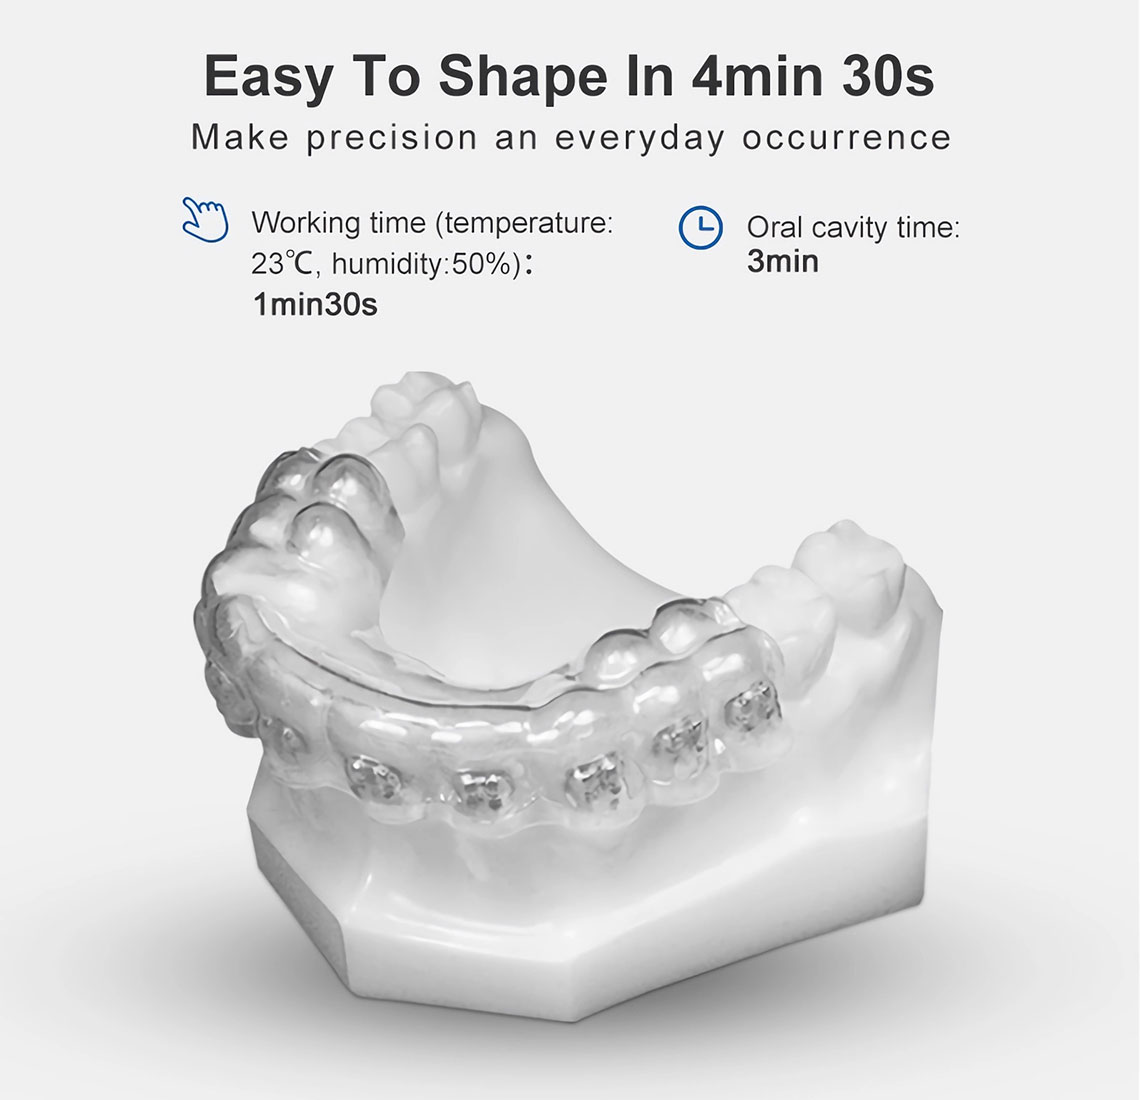
SmileFind® Transparent Silicone Dental Impression Material

How to process it:

  • Second step impression
  • Use mix gun to push it, base & catalyst mix very well directly,
  • Outside mouth mixing time 90s, inside mouth harden time 3mins,
  • Mainly used in clinics, dental labs,
  • Putty’s color is available for custom
Send inquiry

Description

Precision Transparent Impression Putty – High Detail Reproduction

SmileFind® transparent impression material offers high accuracy,
excellent hydrophilicity, and superior flow for crown, bridge, and implant impressions.
Ideal for clinics needing visual inspection during placement.

SmileFind® Transparent Silicone Impression Material
Light Body Feature:
1. Good thixotropy and stability
2. Perfect flowability
3. Excellent Hydrophilic
4. Best reproduction of details
Working time: < 60s (23°C)
Mouth removetime: 3mins
Package
  • 50ml light body
  • 6pcs mix tips
  • 6pcs intraoral tips
  • Product Parameter

    Maximum affordable temperature:

    200 degree centigrade

    Max.compressive deformation:

    <1.0%

    Recovery of elasticity:

    >99.0%

    Hardness:

    58+/-2

    Choose our dental impression material for premium quality and reliability

    We’ve all certifications, and there is no problem for you to clear the customs and reselling in your local market.

    Dental Clear Impression Silicone
    Safe Raw Materials for Dental Products
    Precision Dental Impression Material

    Product Operation Steps

    Follow this simple step-by-step guide to ensure proper mixing, application, and setting of the SmileFind® Transparent Silicone Impression Material.

    Orthodontic Procedure Step
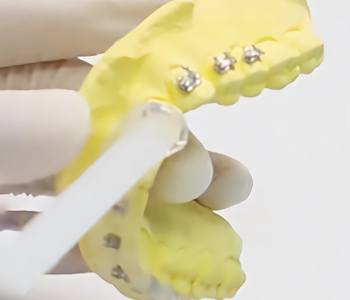
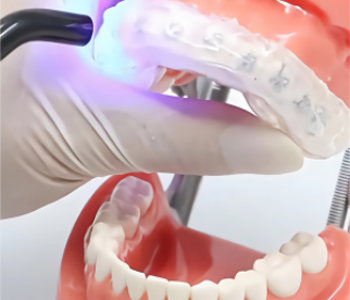
    step1: Brackets are attachedto cast models.Preparation oftransfer trays
    Preparation of Dental Transfer Trays
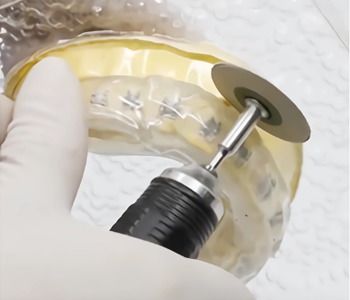
    step2: Brackets are embeddedin the transfer trays, Usingvacuum formed boards to maketransparent trays
    Preparation of Dental Transfer Trays
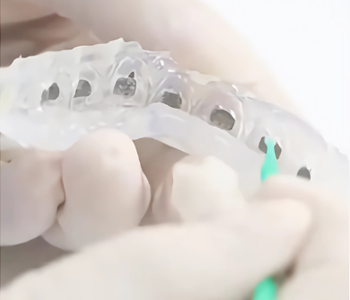
    step3: Clean the adhesive andplaster of the bracket back plateand disinfect it
    Preparation of Dental Transfer Trays
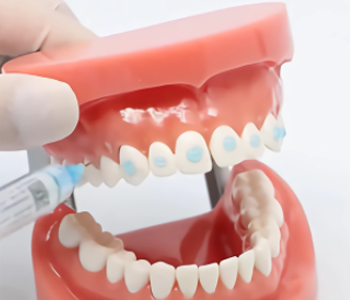
    step4: prepared for adhesive procedures
    Preparation of Dental Transfer Trays
    step5: prepared for adhesive procedures
    Preparation of Dental Transfer Trays
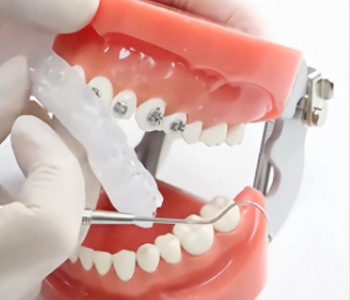
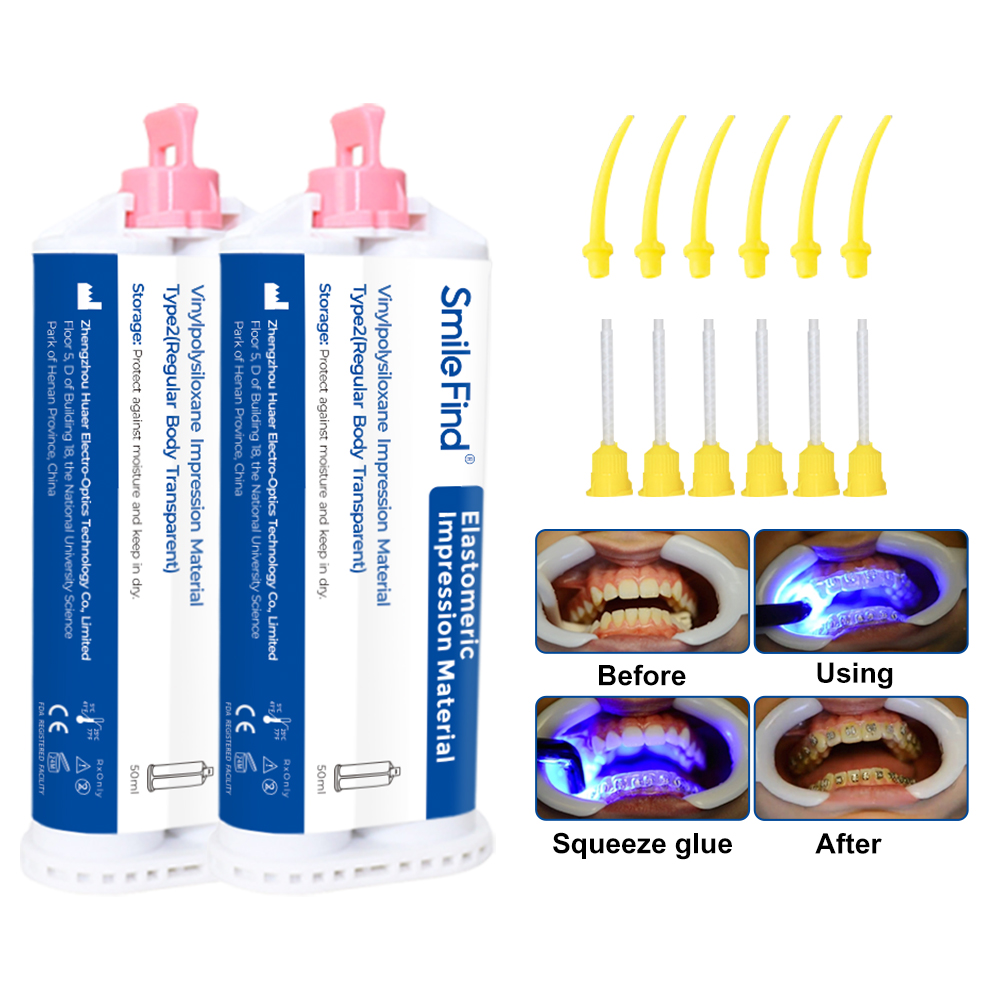
    step6: Remove the tray from theside of the tongue to the lip,

    OEM Service

    Custom Logo on The Box

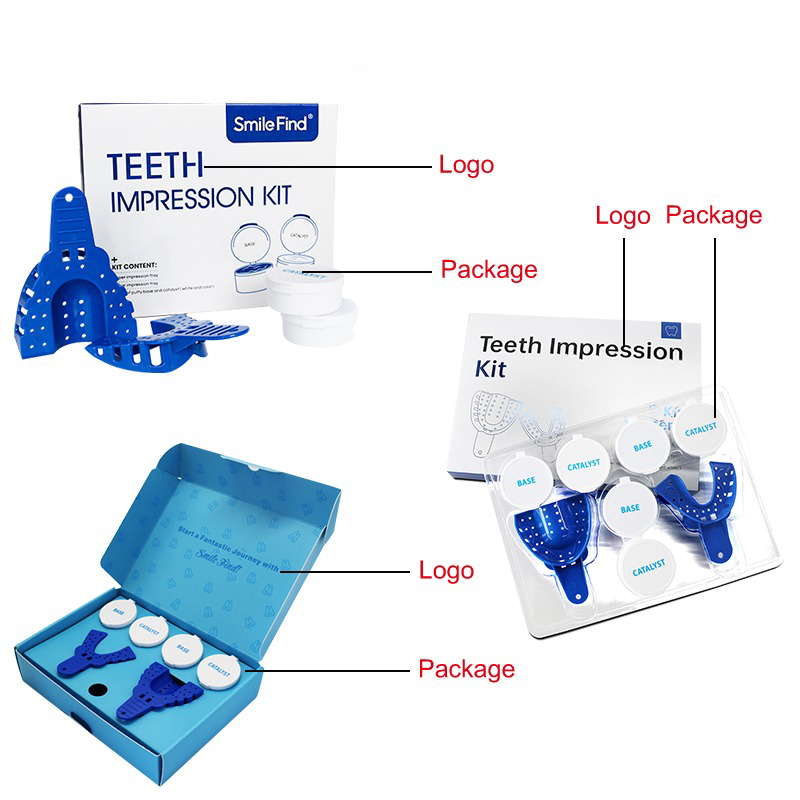
    Custom Logo On The Box

    -UV,Stress Convex Printing
    - Hot Stamping

    Custom Logo On The Jar

    Custom Logo On The Jar

    - Double Color Printing
    -Custom Sticker Available

    User Manual

    User Manual

    -Language Customization
    -Shapes, Color

    Lmpression Tray

    lmpression Tray

    - Logo Printing
    - Different Color TraySmall, Middle, Large Size
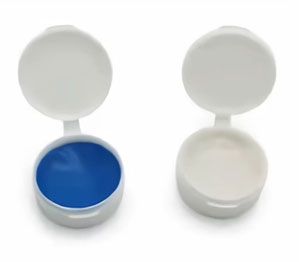
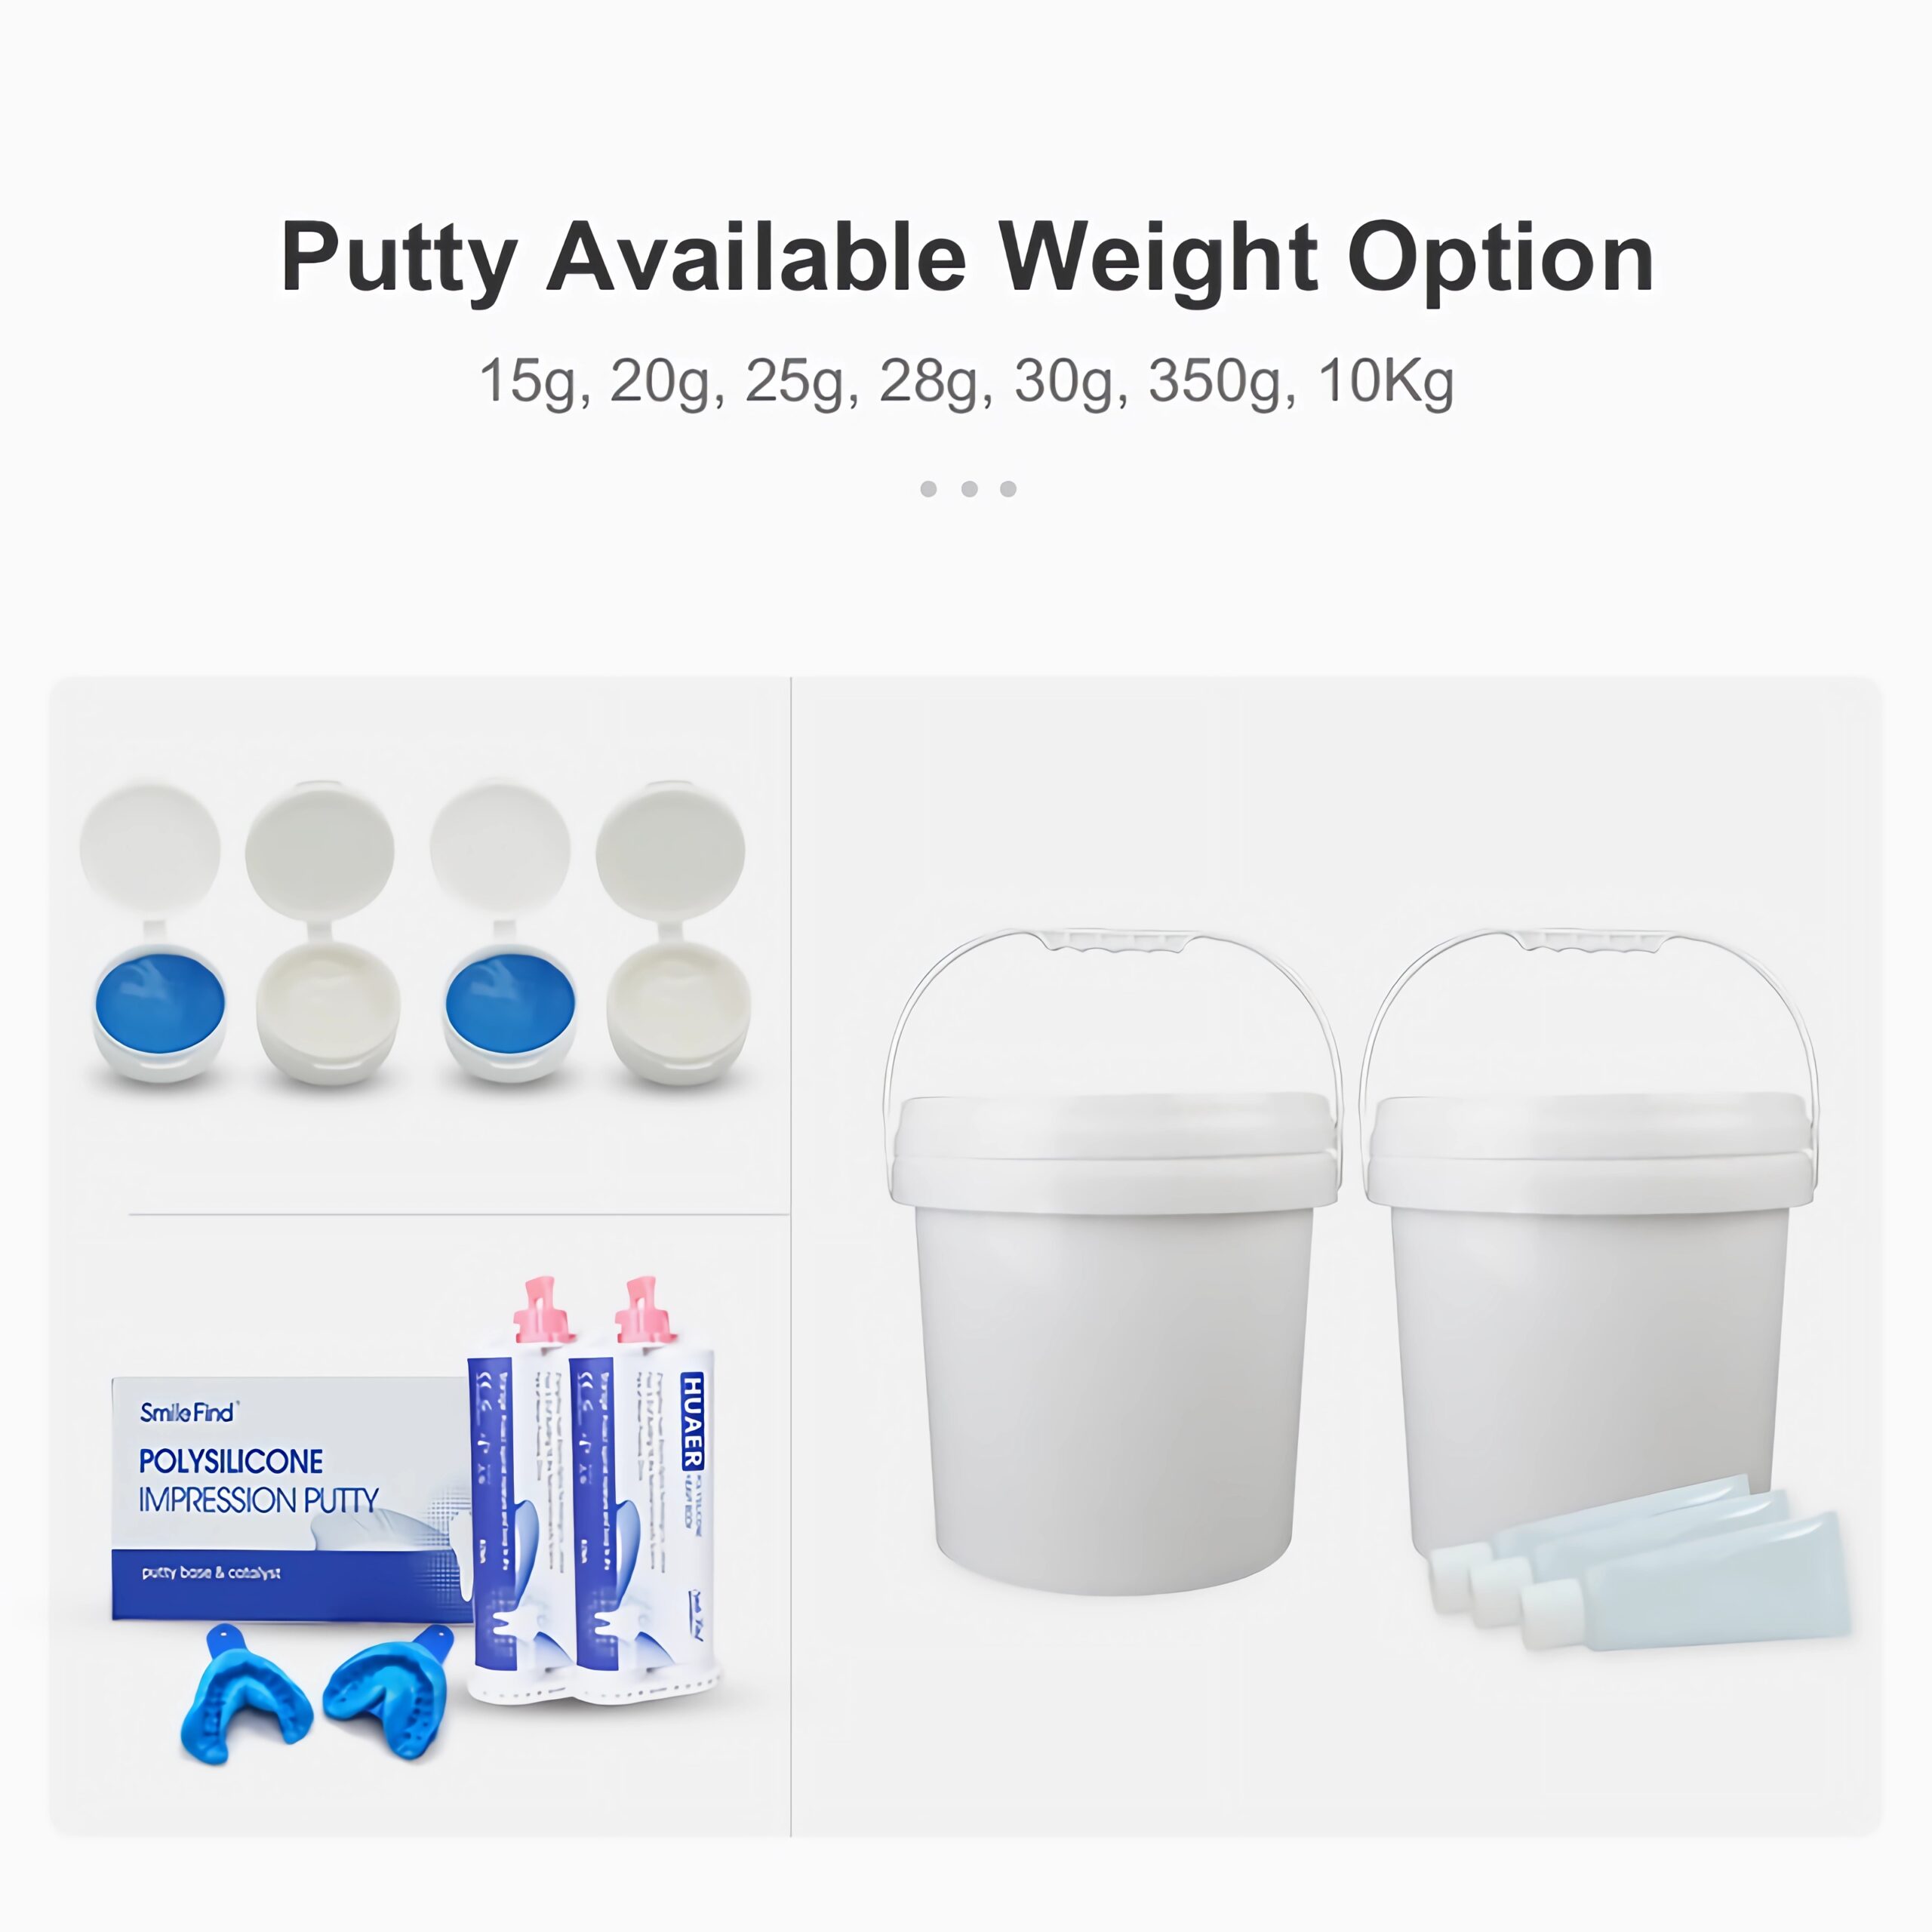
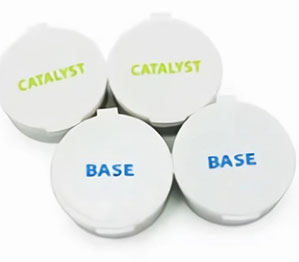
    Putty Customization

    Putty Customization

    -Setting Time, Mixing Time
    - Biting Time-Hardness, Color OEM

    Extra Our Service

    Extra Our Service

    -Free Design Service
    -USA Clearance

    Dental Impression Material Customizable Packaging
    Dental Impression Material Customizable Weight

    Inquire Us Now

    We will Get Back to You soon

    Note: This form is dedicated to distributors and wholesale / custom requests. Individual customers are warmly welcome to visit our Express Shop.

    Submit Button Image for Dental Form

    Inquire Us Now

    We will Get Back to You soon
    Submit Button Image for Dental Form